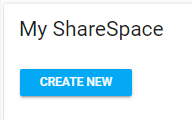
The My ShareSpace widget allows users to create and share information via text, links, etc. They can control who sees this information, and it allows viewers the opportunity to rate and respond to the shared information.
To create a new ShareSpace, click the Create New button.
Provide a title and optional description for the ShareSpace.
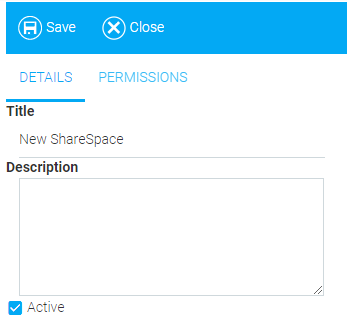
Make sure that the Active box is checked if you want this ShareSpace to be accessible.
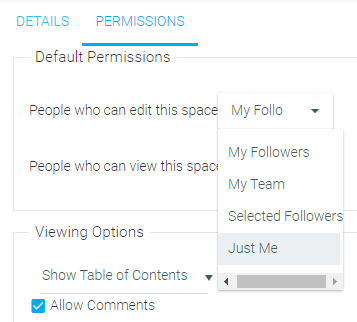
Use the Default Permissions drop-down menus to designate the people who can edit and view the ShareSpace.
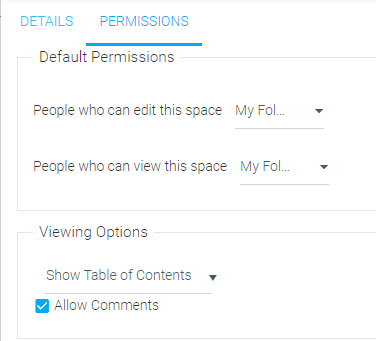
Options for both drop-down menus include My Followers, My Team, Selected Followers (which you will have to name), and Just Me.
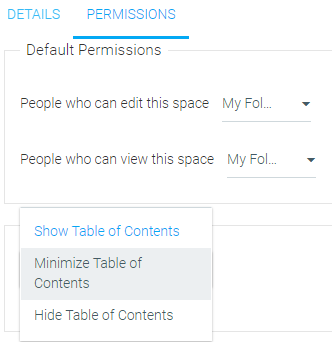
Under Viewing Options, use the drop-down menu to select whether to Show Table of Contents, Minimize Table of Contents, or Hide Table of Contents.
Finally, check the Allow Comments box if you wish for viewers to be able to submit comments to the entries in the space.
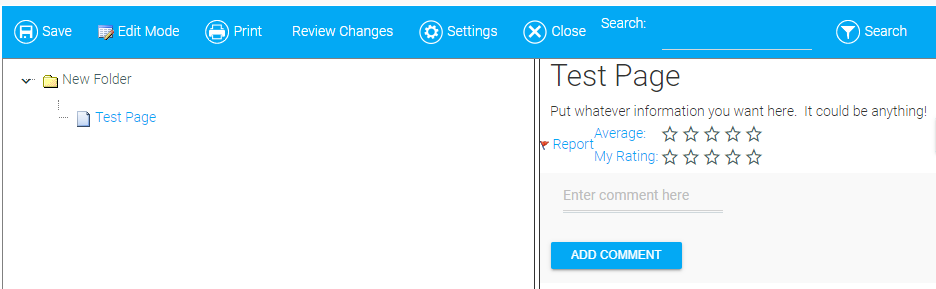
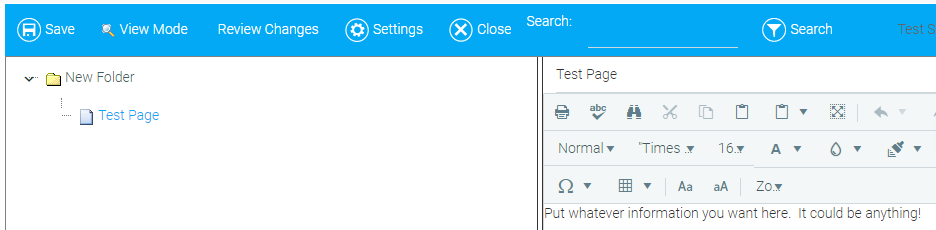
Once the widget has been set up, you can begin creating pages in the space as well as organizing content through the use of folders.
Provide a title for your first page and use the rich text editor to add content. This could include formatted text, links, graphics, etc. Click Save when you're finished with your entry.
Once an entry has been published, viewers have the ability to rate it from one to five stars as well as to add commentary. If a viewer finds the information to be inappropriate, they can click the Report link.